Oh my heavens....when we started this room makeover it wasn't going to be all this but boy O boy are we glad it is!
It was a few months back that my middle girl had said..."Mama, I really want a girls room" Which in a way surprised me because in my mind she had a "girls room". But when one of my kids wants to change things up with the design of their room, I'm all about it!
I started exploring some options for what would make her room girlie but not tacky! If you know me at all, I just can't get on board with too much color or too much fluff! But I wanted her to feel comfortable in her room and I have always tried my best to listen to their requests when it came to designing their spaces. It is her room after all and she deserved a space that reflected her personality. The original styling of her room was a lot of primary colors with a white background. Colors that could be easily changed out over time and it wouldn't affect the design of the space. But when she said she was tired of that black and white sharpie wall, well that was all the push I needed to completely rethink the entire design!

So long Sharpie wall....you were great while you lasted but we were moving on and oh my goodness we did!
 With this wall painted I knew I wanted to use wallpaper in its place.
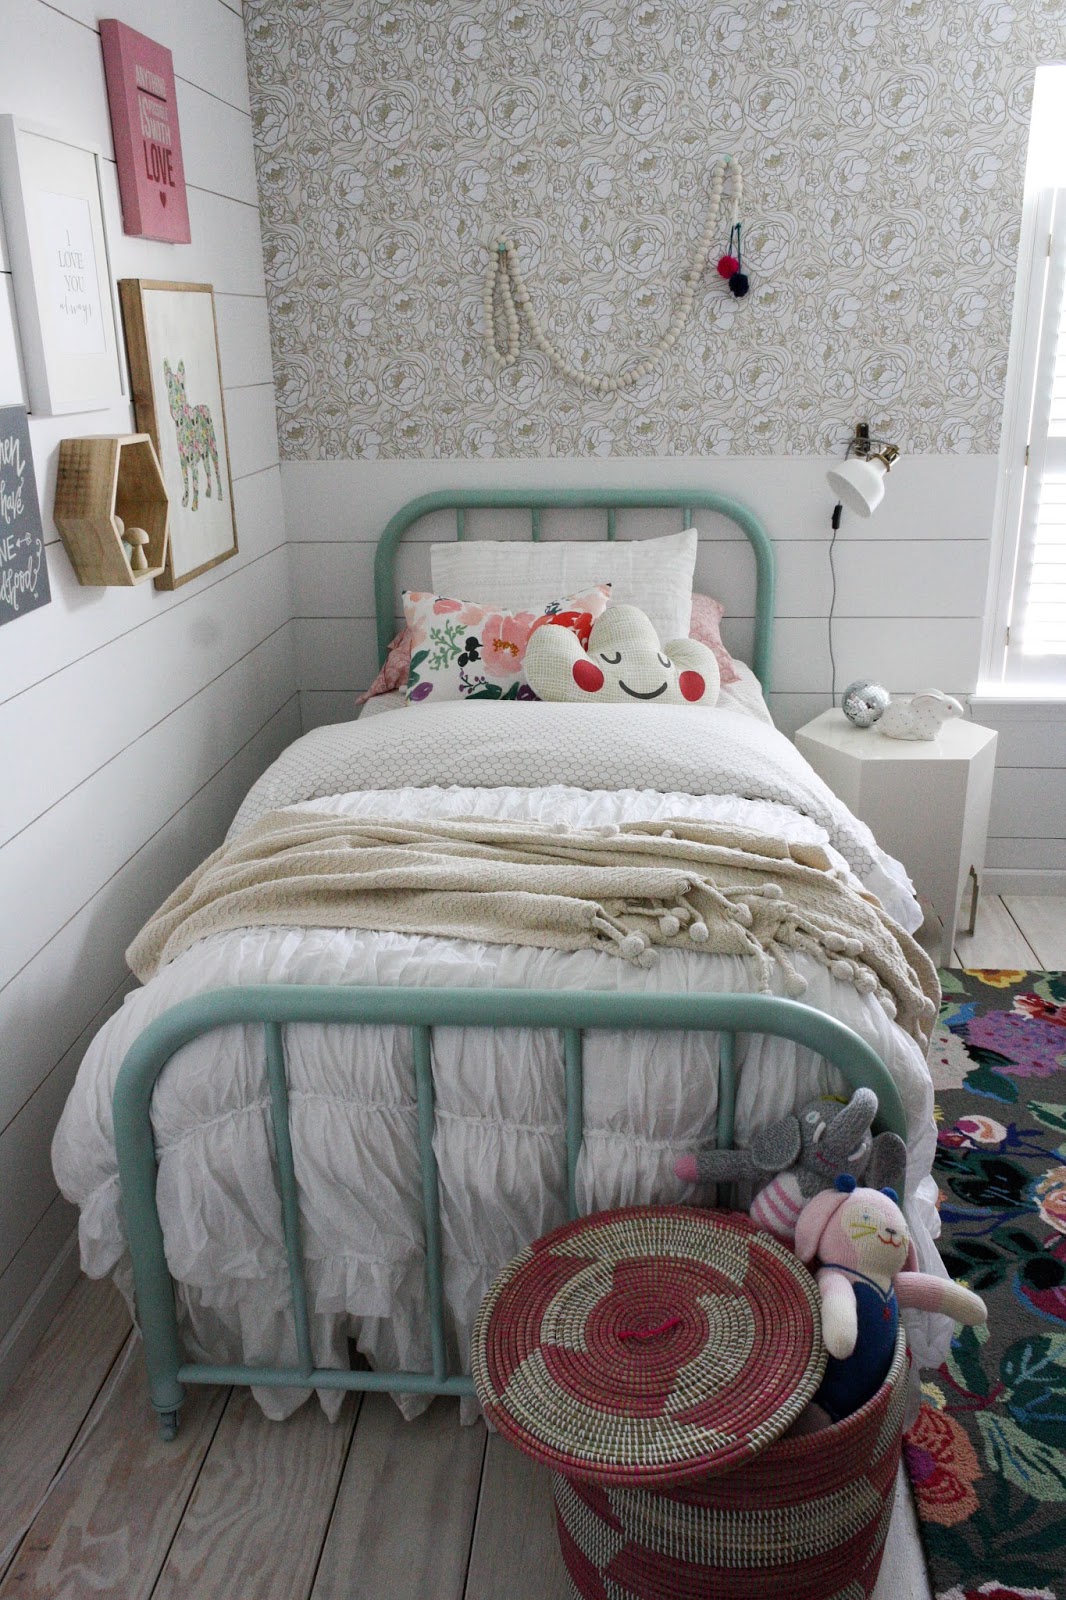
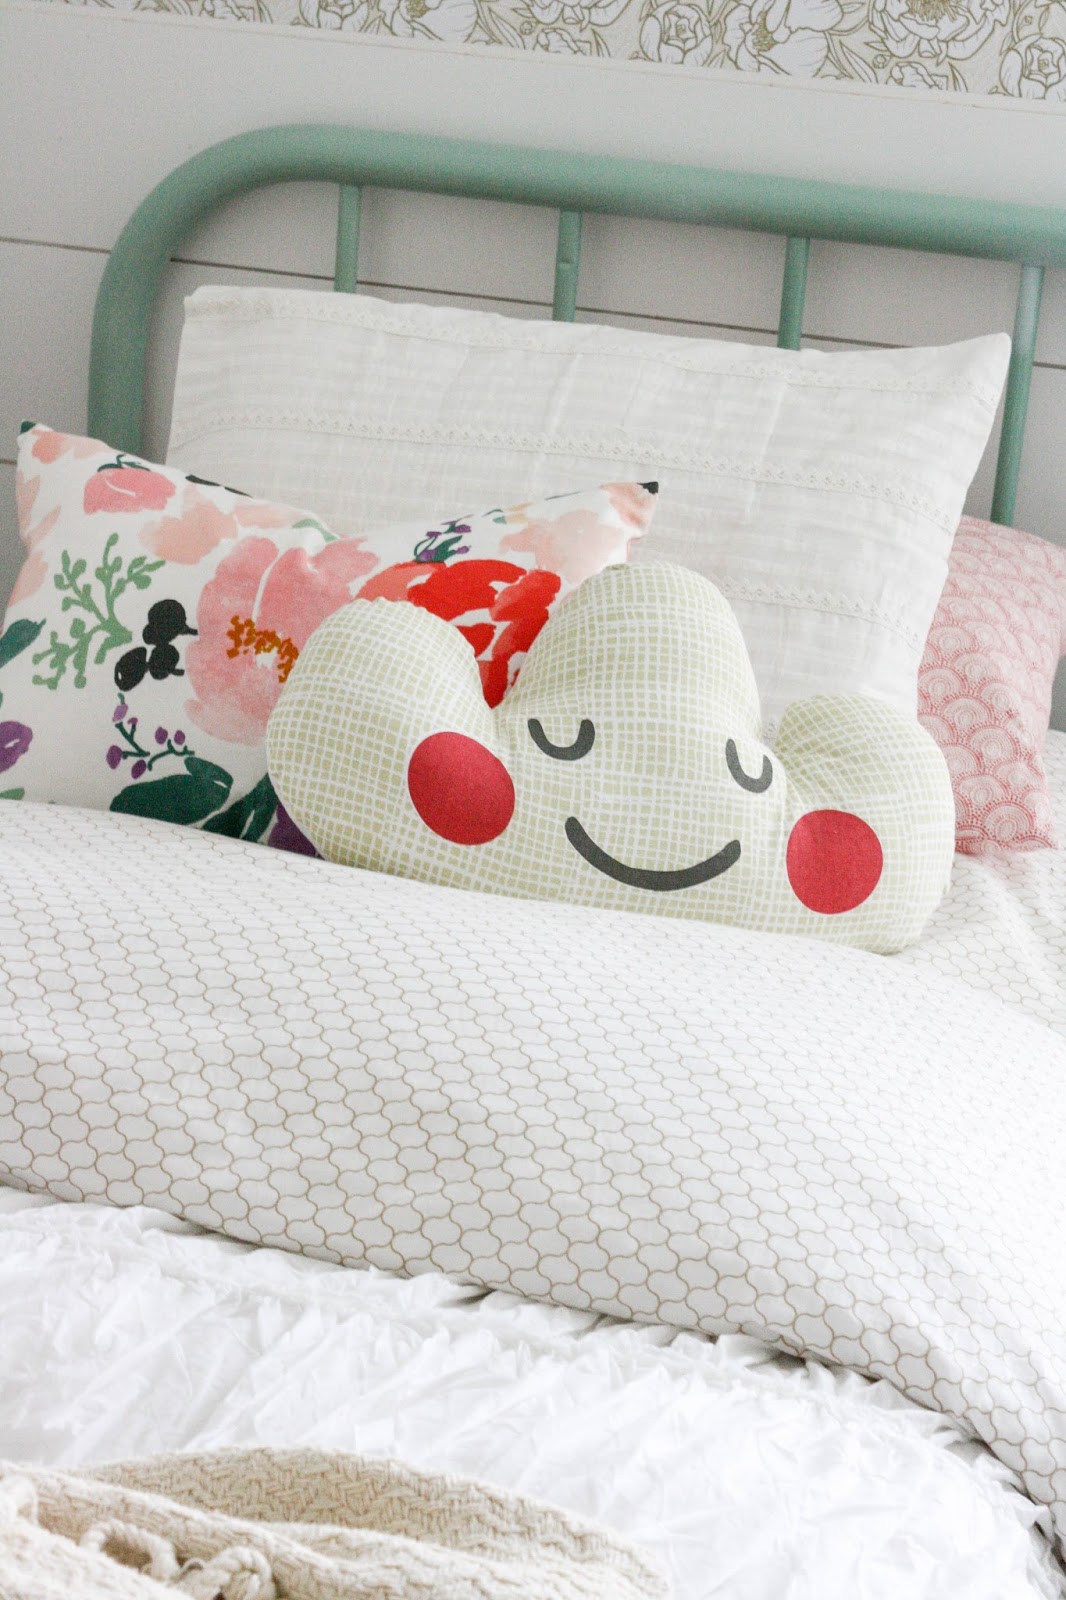
That's when I found Chasing Papers Peonies...and I knew it was going to be absolutely perfect!
 Can we just talk for a second about the ease of putting this wallpaper up on the walls! It was so simple...full tutorial to come but take my word for it...once you start you are going to want to put Chasing Paper wallpaper in every room because its that easy!
Once the paper was up we started on planking all the walls and the new hardwood floors and after a month of my kiddo sleeping in the loft, it was finally finished!


It was a few months back that my middle girl had said..."Mama, I really want a girls room" Which in a way surprised me because in my mind she had a "girls room". But when one of my kids wants to change things up with the design of their room, I'm all about it!
I started exploring some options for what would make her room girlie but not tacky! If you know me at all, I just can't get on board with too much color or too much fluff! But I wanted her to feel comfortable in her room and I have always tried my best to listen to their requests when it came to designing their spaces. It is her room after all and she deserved a space that reflected her personality. The original styling of her room was a lot of primary colors with a white background. Colors that could be easily changed out over time and it wouldn't affect the design of the space. But when she said she was tired of that black and white sharpie wall, well that was all the push I needed to completely rethink the entire design!

So long Sharpie wall....you were great while you lasted but we were moving on and oh my goodness we did!

That's when I found Chasing Papers Peonies...and I knew it was going to be absolutely perfect!
Once the paper was up we started on planking all the walls and the new hardwood floors and after a month of my kiddo sleeping in the loft, it was finally finished!


One of my favorite additions to her room is this 5 foot tall sign. Hand lettered by my sweet friend Aedriel and created by the House of Belonging. We thought about hanging it but I just loved how it looked leaning here up against the wall. My girl has been an adventure since the moment she was born. She gave us quite the scare her second day in this world when she was rushed to the NICU by ambulance for high levels of jaundice and we spent the next ten days in the hospital praying and waiting for her to get well. Thankfully she turned out just fine and has been a firecracker ever since!

The design on her dresser was a DIY that I did after seeing another dresser very similar to this. I really wanted to keep her room in budget so buying new wasn't an option. So I got to taping and painting and here is how it turned out!

This little Goodwill dollhouse will always be one of my best finds!


The best part for me when I have an opportunity to create a new space for one of my girls is the happiness I see on their faces when they finally get to walk in to their brand new room. She squealed when she walked in here for the first time and said..
"Oh Mom, did you do all this stuff for me because I love it!"
Best feeling! Not to mention every time I get to work on a project like this in our home, I get to work with my husband and its kind of our thing that we do together and we're not so bad at it.

Below is the complete source list for her room with links...
The bed is vintage {it was mine when I was a little girl} but HERE is a similar one.
Small wooden dresser {DIY}
Tassel Blanket is Homegoods
Cream Nightstand-Crate and Barrel but discontinued
Dollhouse {Goodwill} similar HERE
Large Dresser {DIY} but the original is HERE
Snake Charmer Basket


